Start Your Migration
This document provides a step-by-step walkthrough of running the Opsole Migrate application on the device, from launching the tool to completing the migration process. It applies to both Hybrid-to-Entra and Tenant-to-Tenant migration scenarios.
How to Install Opsole Migrate and Start Your Migration
1. Obtain the Installation Files
To begin, access the Opsole Customer Portal and navigate to the Settings > Downloads.
From there, download the latest Opsole Migrate setup file (MSI).
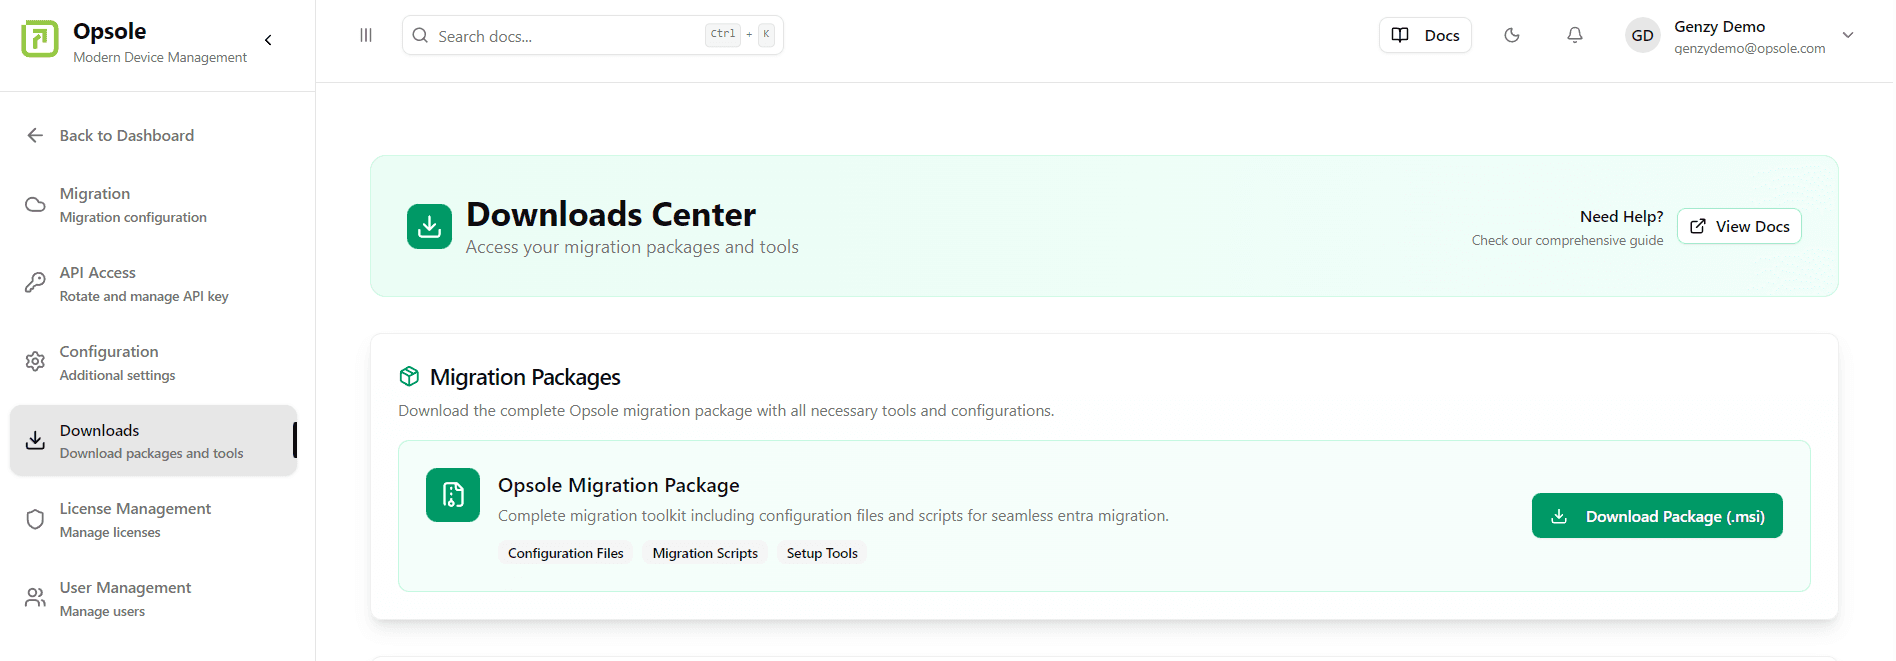
Proceed to the next section to deploy or install the application.
2: Deploy or Install the MSI File
Opsole Migrate is distributed as an MSI file that must be deployed to the target computer selected for migration.
Deployment Options
You can deploy the MSI file using any of the following methods:
- Microsoft Intune
- Group Policy Object (GPO)
- Third-party MDM solutions or Remote Installation
- Manual Installation
Important Requirements
Administrative Privileges: MSI deployment or installation requires an administrative privilege account on the target computer.
3: Launch Opsole Migrate
Once the MSI installation is complete on the target computer, you can access the application:
- Open the Start Menu on the target computer
- Type “opsole” in the search box
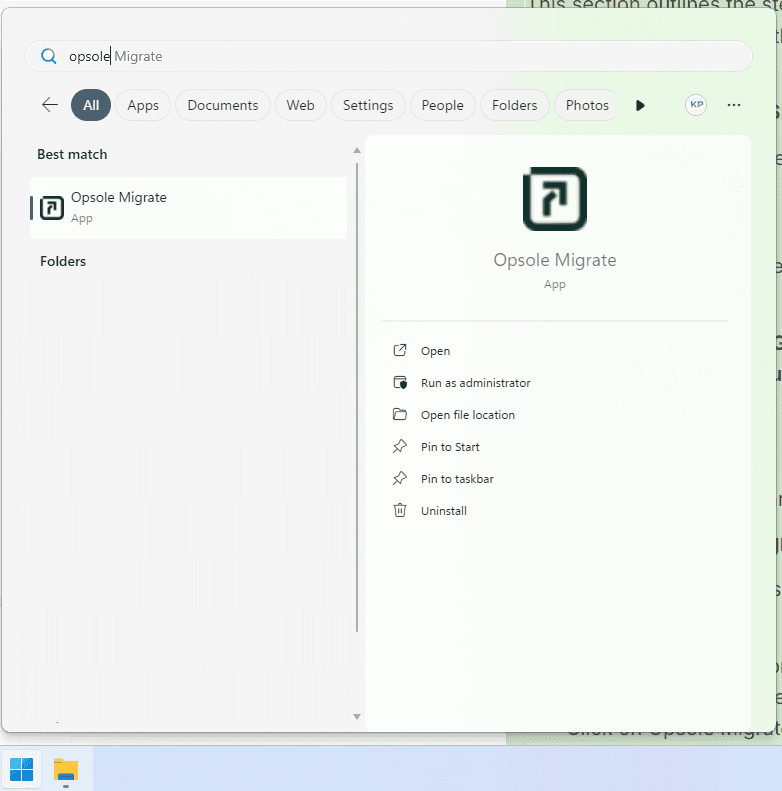
Click on Opsole Migrate from the search results
The application will launch with a Preparation Window
4: Start the Migration Process
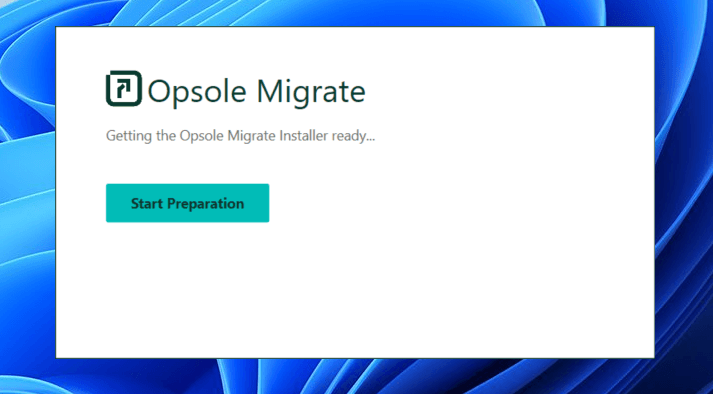
Once the Opsole Migrate application opens:
- Click the Start Prepare button in the Preparation Window
- The application will initiate the preparation phase for device migration

The Opsole Migration Application Window will open
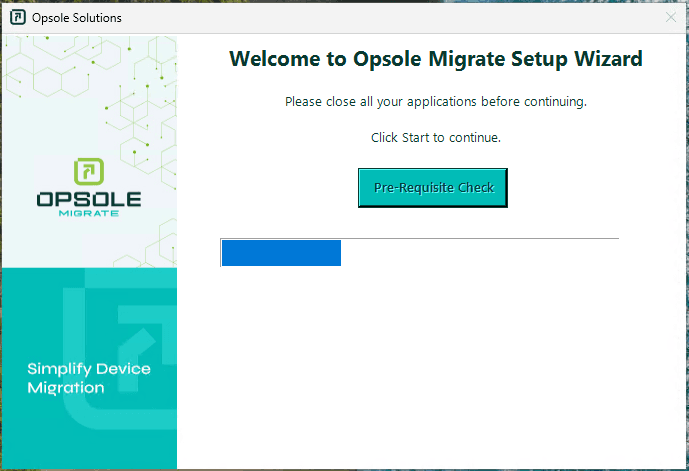
You will be greeted with a Welcome Wizard that guides you through the Pre-Requisite Check process
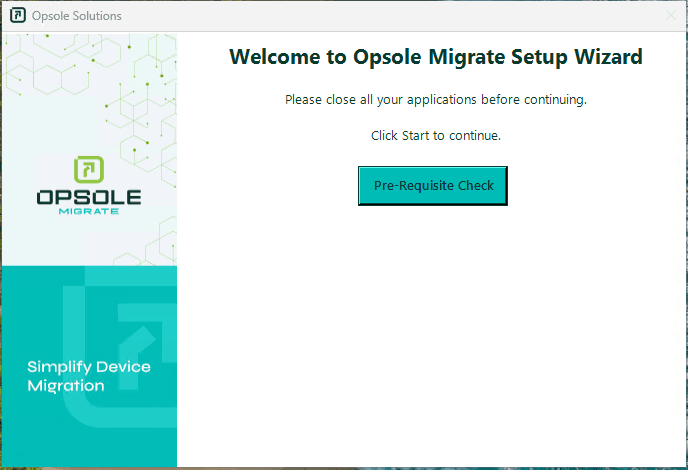
Step 2: Pre-Requisite Check
Click “Pre-Requisite Check” to begin validation.
The app checks system readiness, licensing, and device state.
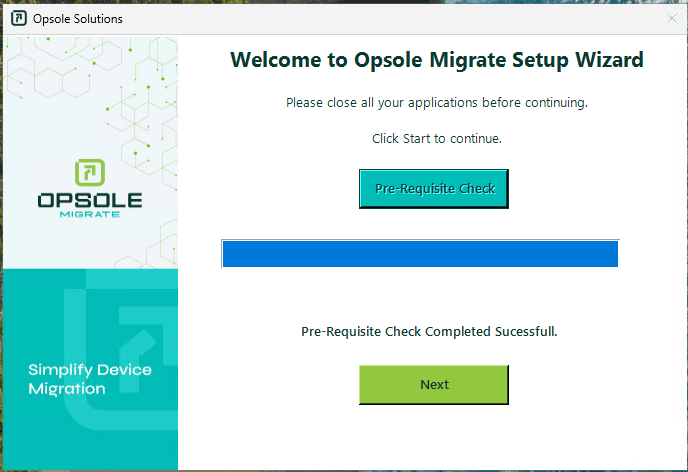
Step 3: Pre-Req Check Success
If all requirements are met, a “Check Passed” message appears.
Click Next to proceed.
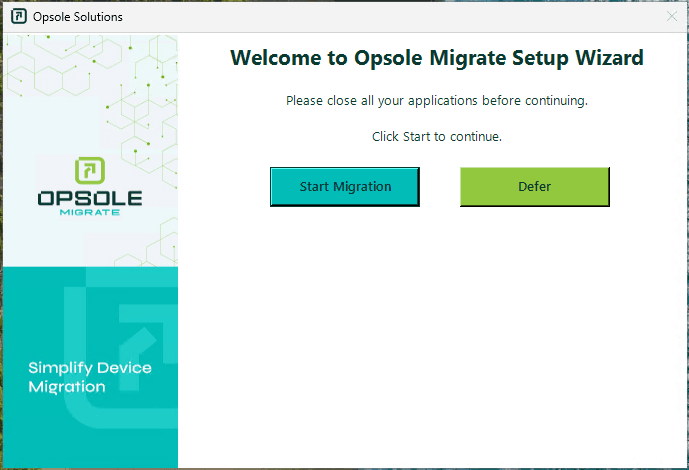
Step 4: Start Migration
Click Start Migration to begin.
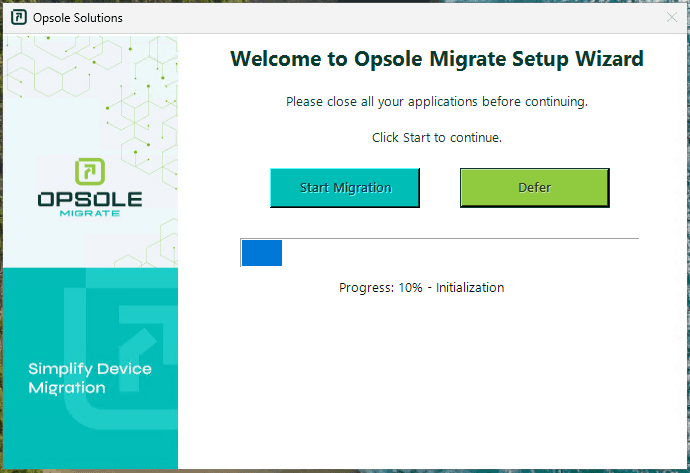
Step 5: Initial Migration Phase
The application executes the initial migration steps.
If the Migration Configuration is Hybrid-to-Entra
- The migration continues automatically without requiring any additional user input.
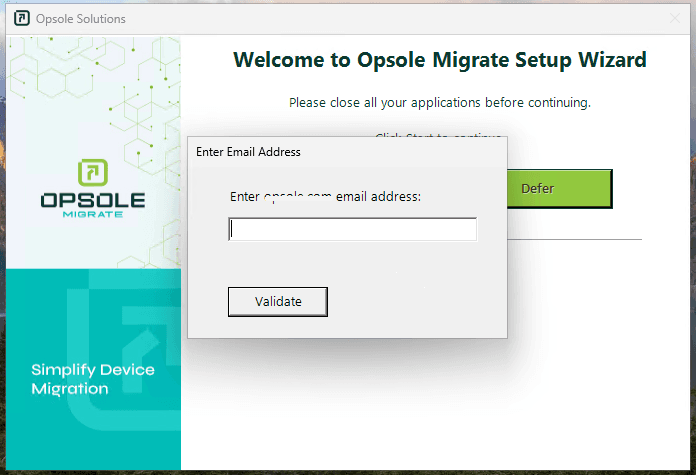
If the Migration Configuration is Tenant-to-Tenant
- A prompt will appear requesting the target tenant user email address.
The migration user must have a valid user account in the destination (target) Microsoft Entra tenant.
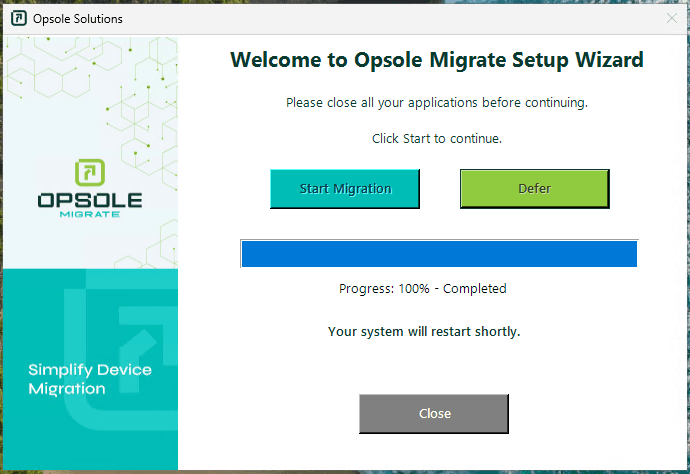
Step 6: Initial Migration Phase Complete
Once complete, click Close to finish this phase.
The system automatically reboots to apply changes.
Note : This is expected and part of the migration workflow.
Step 7: Migration Banner
Upon reboot, a banner will appear stating:
“Migration in progress. Do not log in. Please wait.”
After 2–3 minutes, The system will automatically reboot again to complete background migration steps..
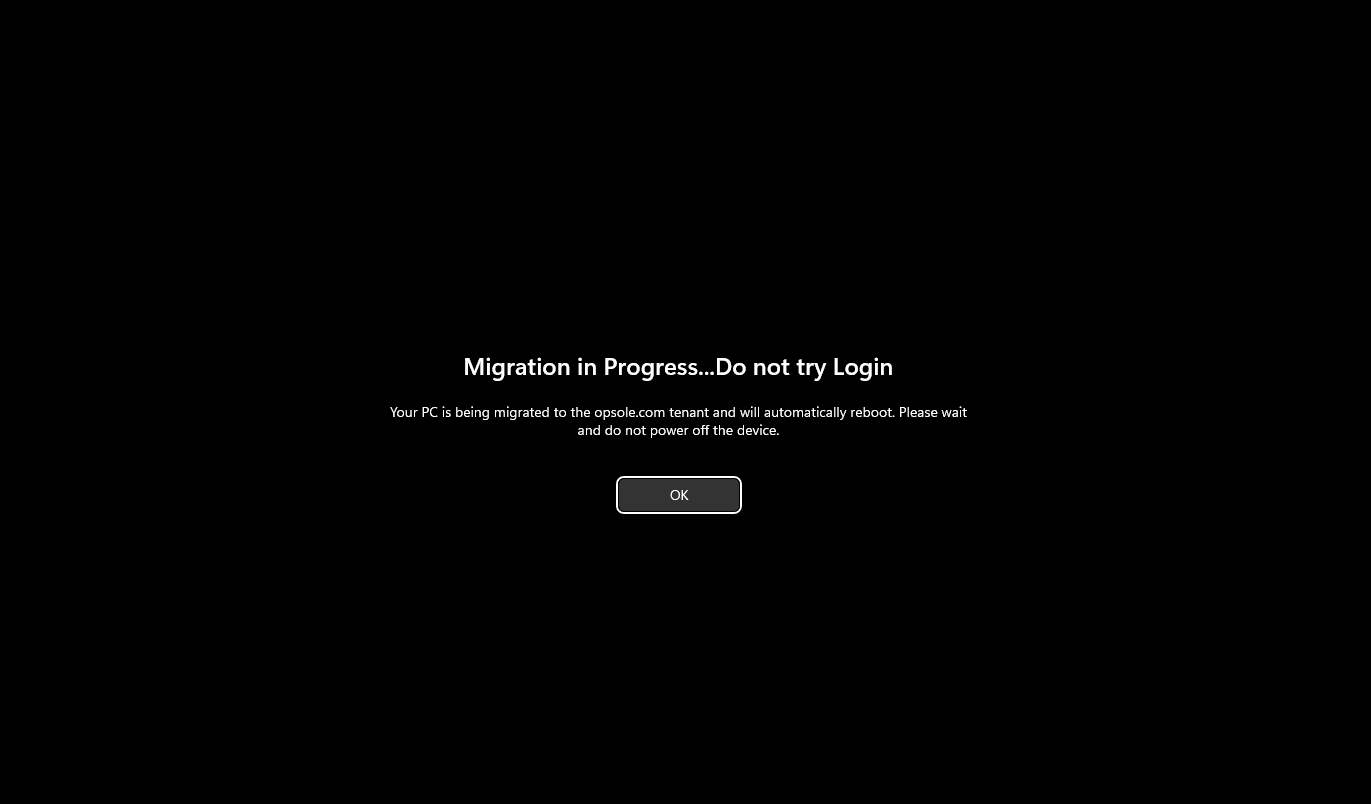
Note : At this stage, the user must not attempt to log in. Doing so may interrupt or break the migration process.
Step 8: Entra Login Prompt
After the second reboot, users are prompted to log in using Microsoft Entra ID credentials.
Based on the migration configuration, sign in using the appropriate Microsoft Entra ID account:
Enter the user email address and password.

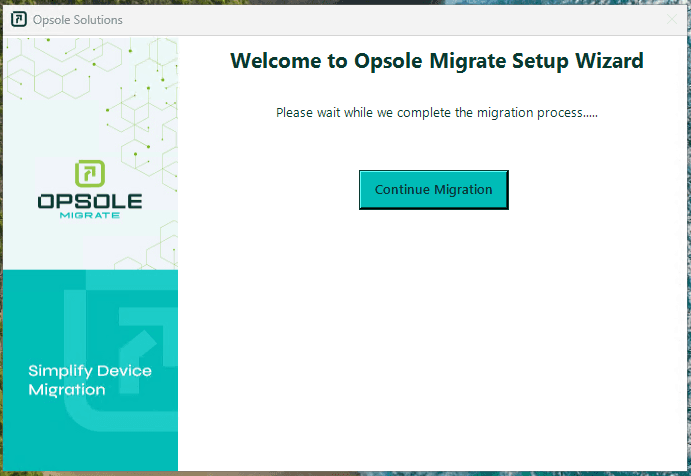
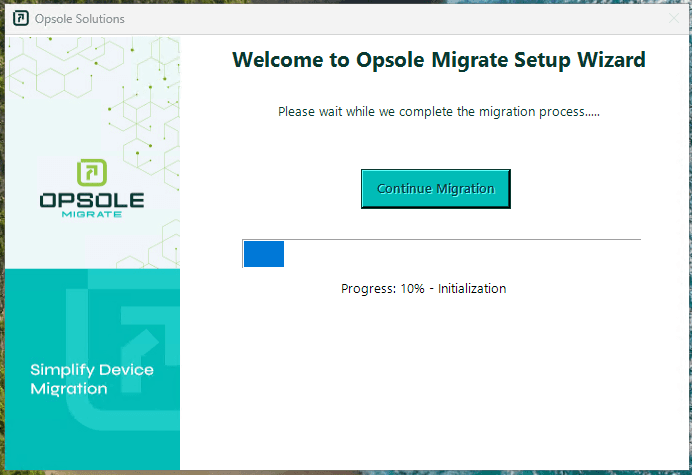
Step 9: Resume Migration
Once logged in, the “Continue Migration” window appears.
Click Continue Migration to proceed.
Step 10: Final Migration Phase
The application will process the remaining steps required to finalize the migration.
Step 11: Migration Complete
A confirmation message appears:
“Migration Completed Successfully”
Click Close to finish.

Step 12: Post-Migration Validation
Open the Microsoft Entra Admin Portal and verify:
- The device appears under Devices
- The status is listed as Entra Joined
- Confirm the user profile and local data are intact.
The migration is now fully complete. The user can continue working without data loss or device reconfiguration.
How is this guide?
Opsole Migrate Portal Setup
This document explains how to configure the Opsole Migrate Portal for device migration, including adding tenant details, registering application credentials, uploading provisioning packages, and preparing the environment for Hybrid-to-Entra and Tenant-to-Tenant migration scenarios.
Troubleshooting Guide
This document covers the Troubleshoot Section of OpsoleMigrateApp.