Opsole Migrate Portal Setup
This document explains how to configure the Opsole Migrate Portal for device migration, including adding tenant details, registering application credentials, uploading provisioning packages, and preparing the environment for Hybrid-to-Entra and Tenant-to-Tenant migration scenarios.
3 Opsole Migrate Portal Setup
After completing all prerequisite configurations, you're ready to set up the Opsole Migrate Portal. This step involves registering your tenant and applying the configuration values gathered during the previous setup phases.
Step 1 — Access the Opsole Migrate Portal
- Navigate to the Opsole Migrate portal URL https://app.opsole.com.
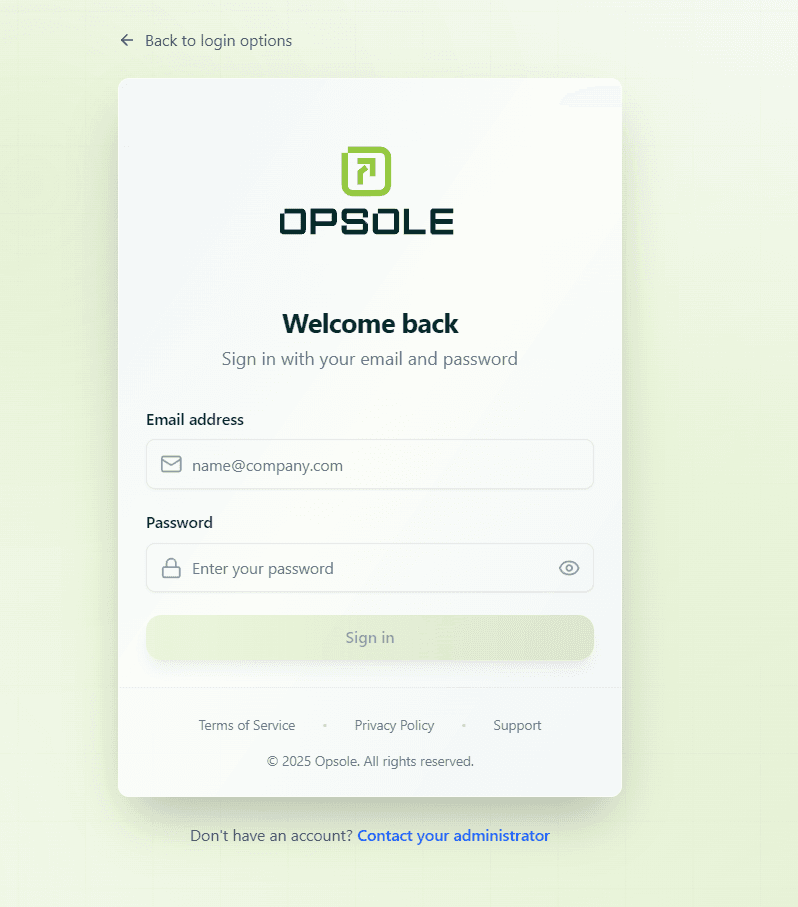
- Log in using the credentials.
- Choose Migration Option and Update Entra App ID and Tenant details
For “AD Joined Device to Entra ID” or “Hybrid Joined Device to Entra ID”, follow the steps below.
 4. In the Source Tenant section, enter the following values (retrieved during application registration):
- Client ID : [Current Tenant Client ID]
- Client Secret : [Current Tenant Client Secret]
- Tenant ID : [Current Tenant Tenant ID]
- Tenant Name : [Current Tenant Tenant Name eg: domain.com]
- Click Verify – Opsole Migrate will automatically validate the credentials and configuration.
- Click Save Configuration.
For “Tenant to Tenant Migration”, follow the steps below.
 4. In the Source Tenant section, enter the following values (retrieved during application registration):
- Client ID : [Current Tenant Client ID]
- Client Secret : [Current Tenant Client Secret]
- Tenant ID : [Current Tenant Tenant ID]
- Tenant Name : [Current Tenant Tenant Name eg: domain.com]
- Click Verify – Opsole Migrate will automatically validate the credentials and configuration.
- In the Target Tenant section, enter the following values (retrieved during application registration in Targent Tenant):
- Client ID : [Target Tenant Client ID]
- Client Secret : [Target Tenant Client Secret]
- Tenant ID : [Target Tenant ID]
- Tenant Name : [Target Tenant Name eg: domain.com]
- Click Save Configuration.
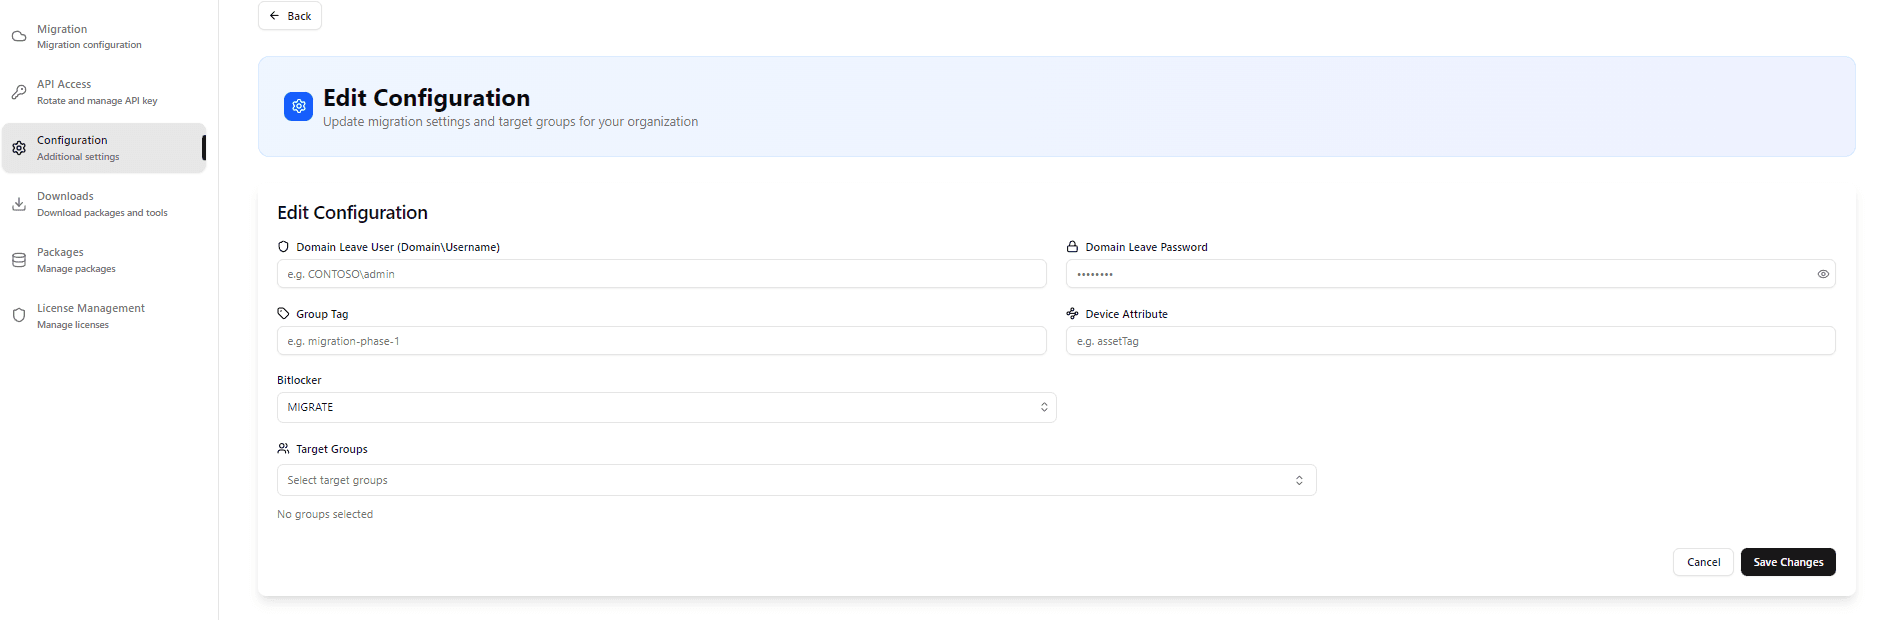
Step 2 — Additional Configuration
After successfully saving your Entra ID configuration, proceed to complete the Additional Configuration settings:
Fill in the following fields as needed for your migration scenario:
-
Domain leave User / Password:
FQDN\Usernameand password. -
Group (Autopilot Devices): Specify the group, if applicable, to manage devices provisioned through Autopilot.
-
BitLocker Migrate Option:
MIGRATEorDECRYPTbased on whether you want to retain BitLocker encryption during migration. -
Device Attributes: Select device attributes to be retained or modified.
-
Target Group (Optional): Define the destination group to which devices should be assigned after migration.
-
Click Save to apply the settings.
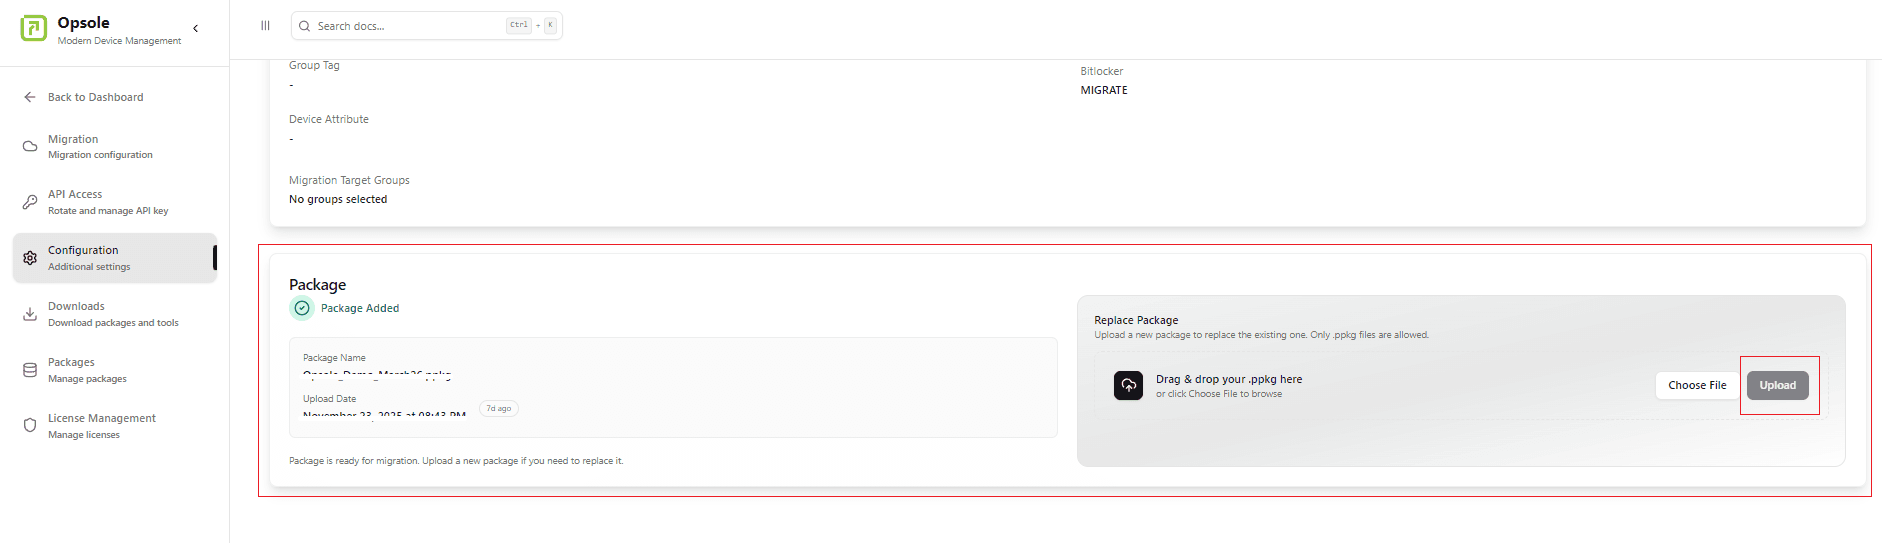
Step 3 — Provisioning Package Upload
To upload the provisioning package for the migration process, follow these steps:
- Navigate to Settings → Configuration
- Locate the Package section
- Click Upload Package
- Upload the provisioning package (
.ppkg) generated in WCD
Use the correct provisioning package based on your migration scenario:
For Hybrid-to-Entra migration:
- Upload the provisioning package created using the current (source) tenant credentials.
For Tenant-to-Tenant migration:
- Upload the provisioning package created using the destination (target) tenant credentials.
✅ Your configuration is now complete. You are ready to begin the Opsole Migrate application and start your migration.
- Continue to setup: Start Your Migration
How is this guide?
Provisioning Package & Directory Setup
This document covers the hands-on setup steps required before running the migration, including creating the provisioning package with Windows Configuration Designer (WCD) and preparing the Active Directory disjoin account (for Hybrid/AD-joined devices).
Start Your Migration
This document provides a step-by-step walkthrough of running the Opsole Migrate application on the device, from launching the tool to completing the migration process. It applies to both Hybrid-to-Entra and Tenant-to-Tenant migration scenarios.